Your Cart is Empty
Free Shipping on ALL alarms!
And on all orders of $35 or more *Continental US only
Free Shipping on ALL alarms!
And on all orders of $35 or more *Continental US only


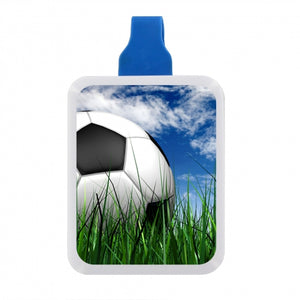
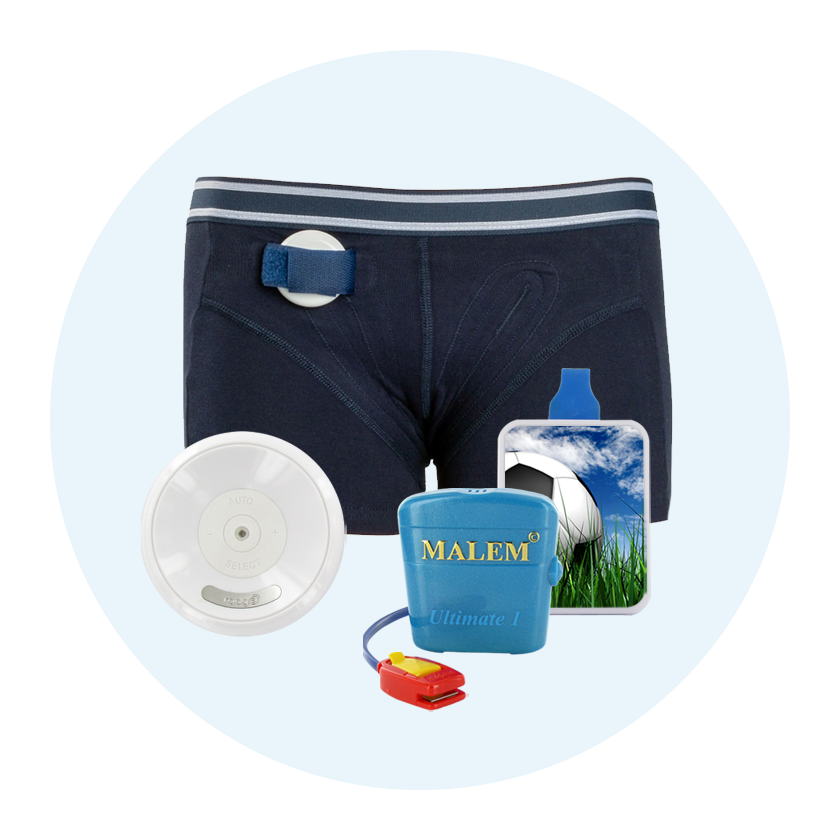
J-D-SOCCER
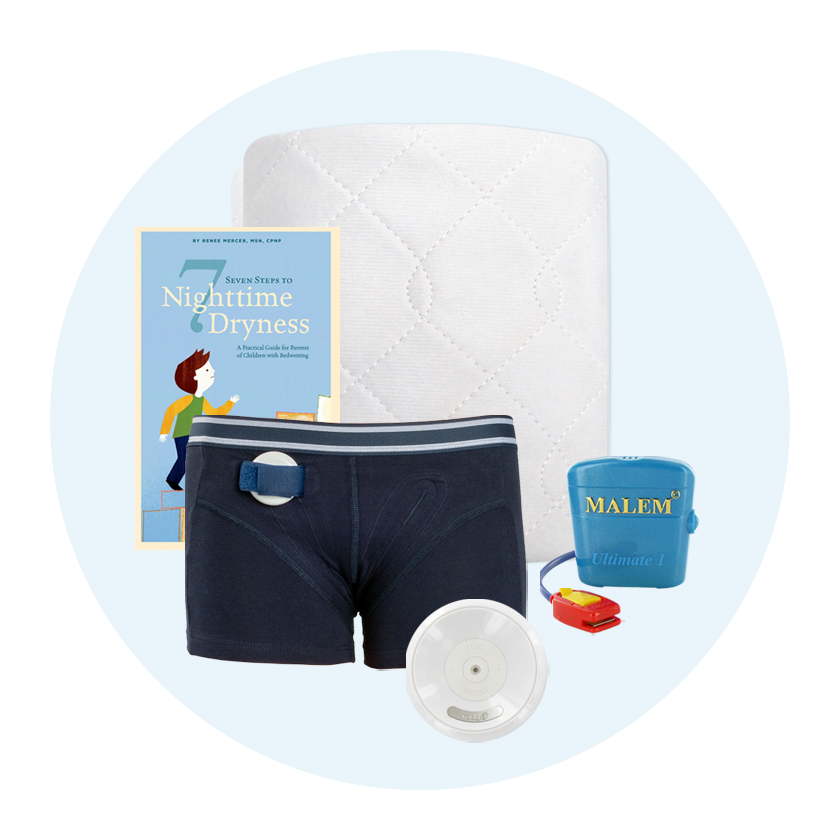
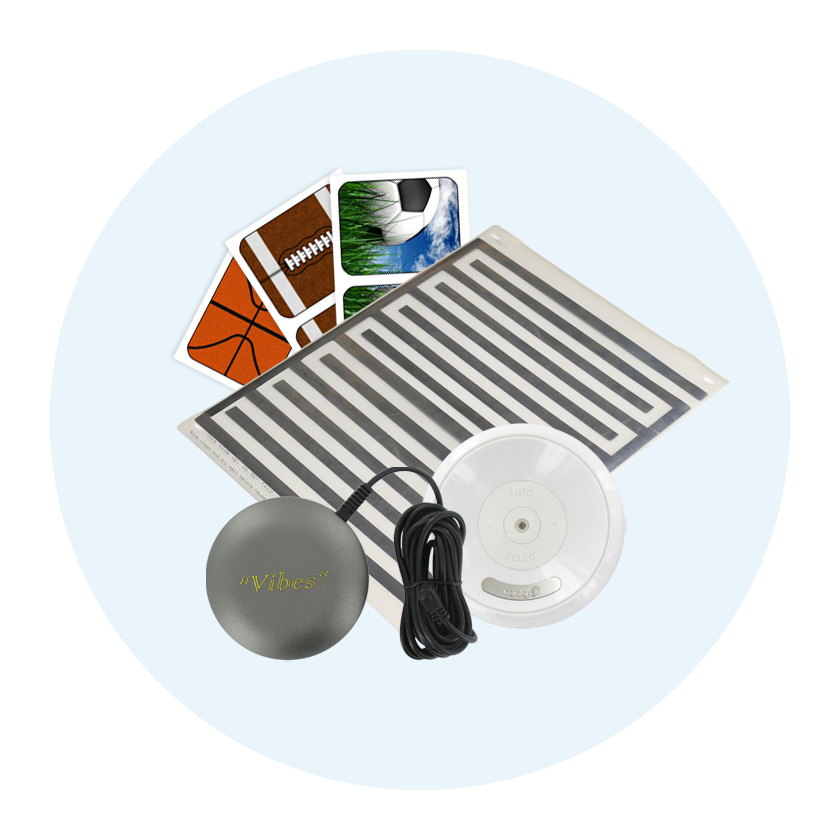
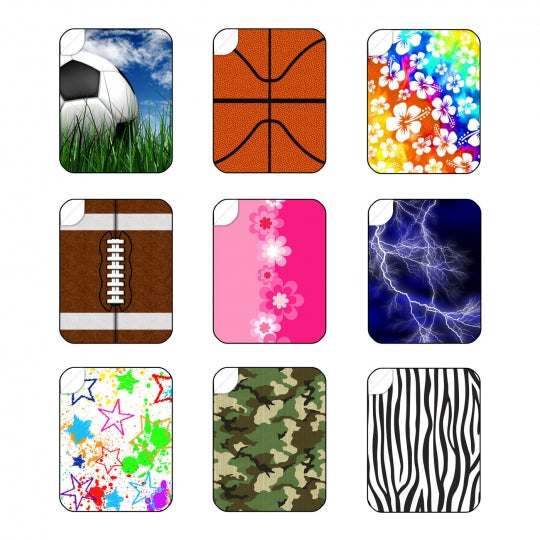
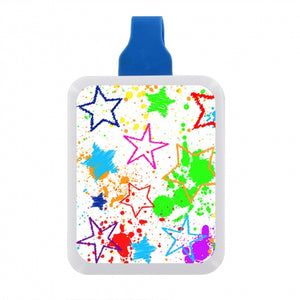
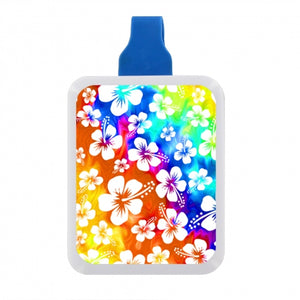
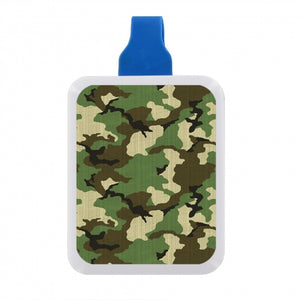
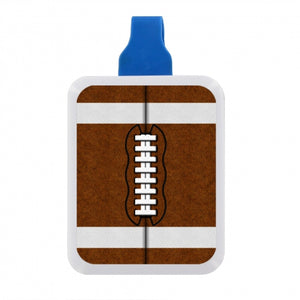
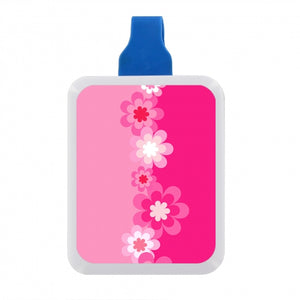
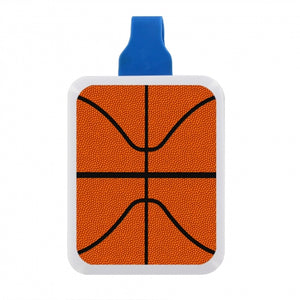
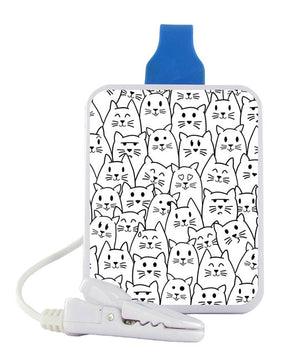
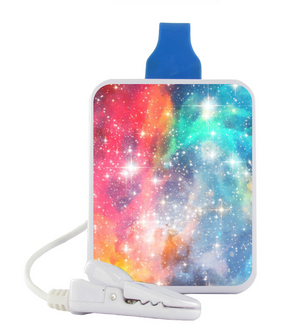
We are excited to offer Rodger Clippo Alarm Skins, designed specifically for the Clippo only. Each skin is printed full color on premium grade, adhesive-backed cast vinyl then covered with a high-gloss clear protective coating. Every skin we offer is designed to fit your Rodger Clippo Alarm, covering the front and back. Application and removal is easy, and the vinyl is guaranteed to leave no residue behind after removal.
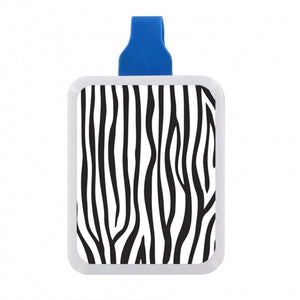
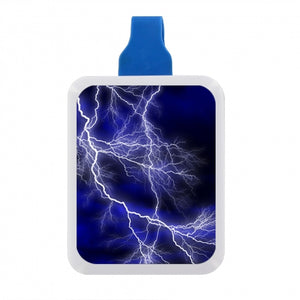
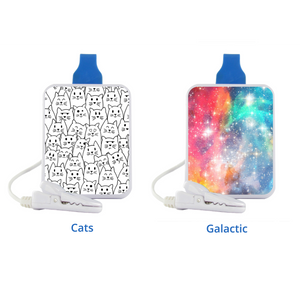
We offer 9 different kid-cool designs that are brightly colored with various themes that are great for boys and girls. Although every alarm comes with a skin of your choice, you have the option of selecting other designs that appeal to you or your child. Check out the images above to see what the skins look like on the alarm.(Please note: Alarm does not come with the purchase of decal skin. Please see Rodger Clippo Alarm page for purchase of alarm.)
Please keep in mind that each skin is designed for one-time use, and will likely not adhere to the surface of the alarm after first use.

*Image shows the skin's cut-out (how it is before peeling off). Peel off along the marked edges and carefully apply each piece to your alarm.
For specific instructions, see "Additional Info" tab before applying the skin.
We are excited to offer Rodger Clippo Alarm Skins, designed specifically for the Clippo only. Each skin is printed full color on premium grade, adhesive-backed cast vinyl then covered with a high-gloss clear protective coating. Every skin we offer is designed to fit your Rodger Clippo Alarm, covering the front and back. Application and removal is easy, and the vinyl is guaranteed to leave no residue behind after removal.
We offer 9 different kid-cool designs that are brightly colored with various themes that are great for boys and girls. Although every alarm comes with a skin of your choice, you have the option of selecting other designs that appeal to you or your child. Check out the images above to see what the skins look like on the alarm.(Please note: Alarm does not come with the purchase of decal skin. Please see Rodger Clippo Alarm page for purchase of alarm.)
Please keep in mind that each skin is designed for one-time use, and will likely not adhere to the surface of the alarm after first use.
*Image shows the skin's cut-out (how it is before peeling off). Peel off along the marked edges and carefully apply each piece to your alarm.
For specific instructions, see "Additional Info" tab before applying the skin.
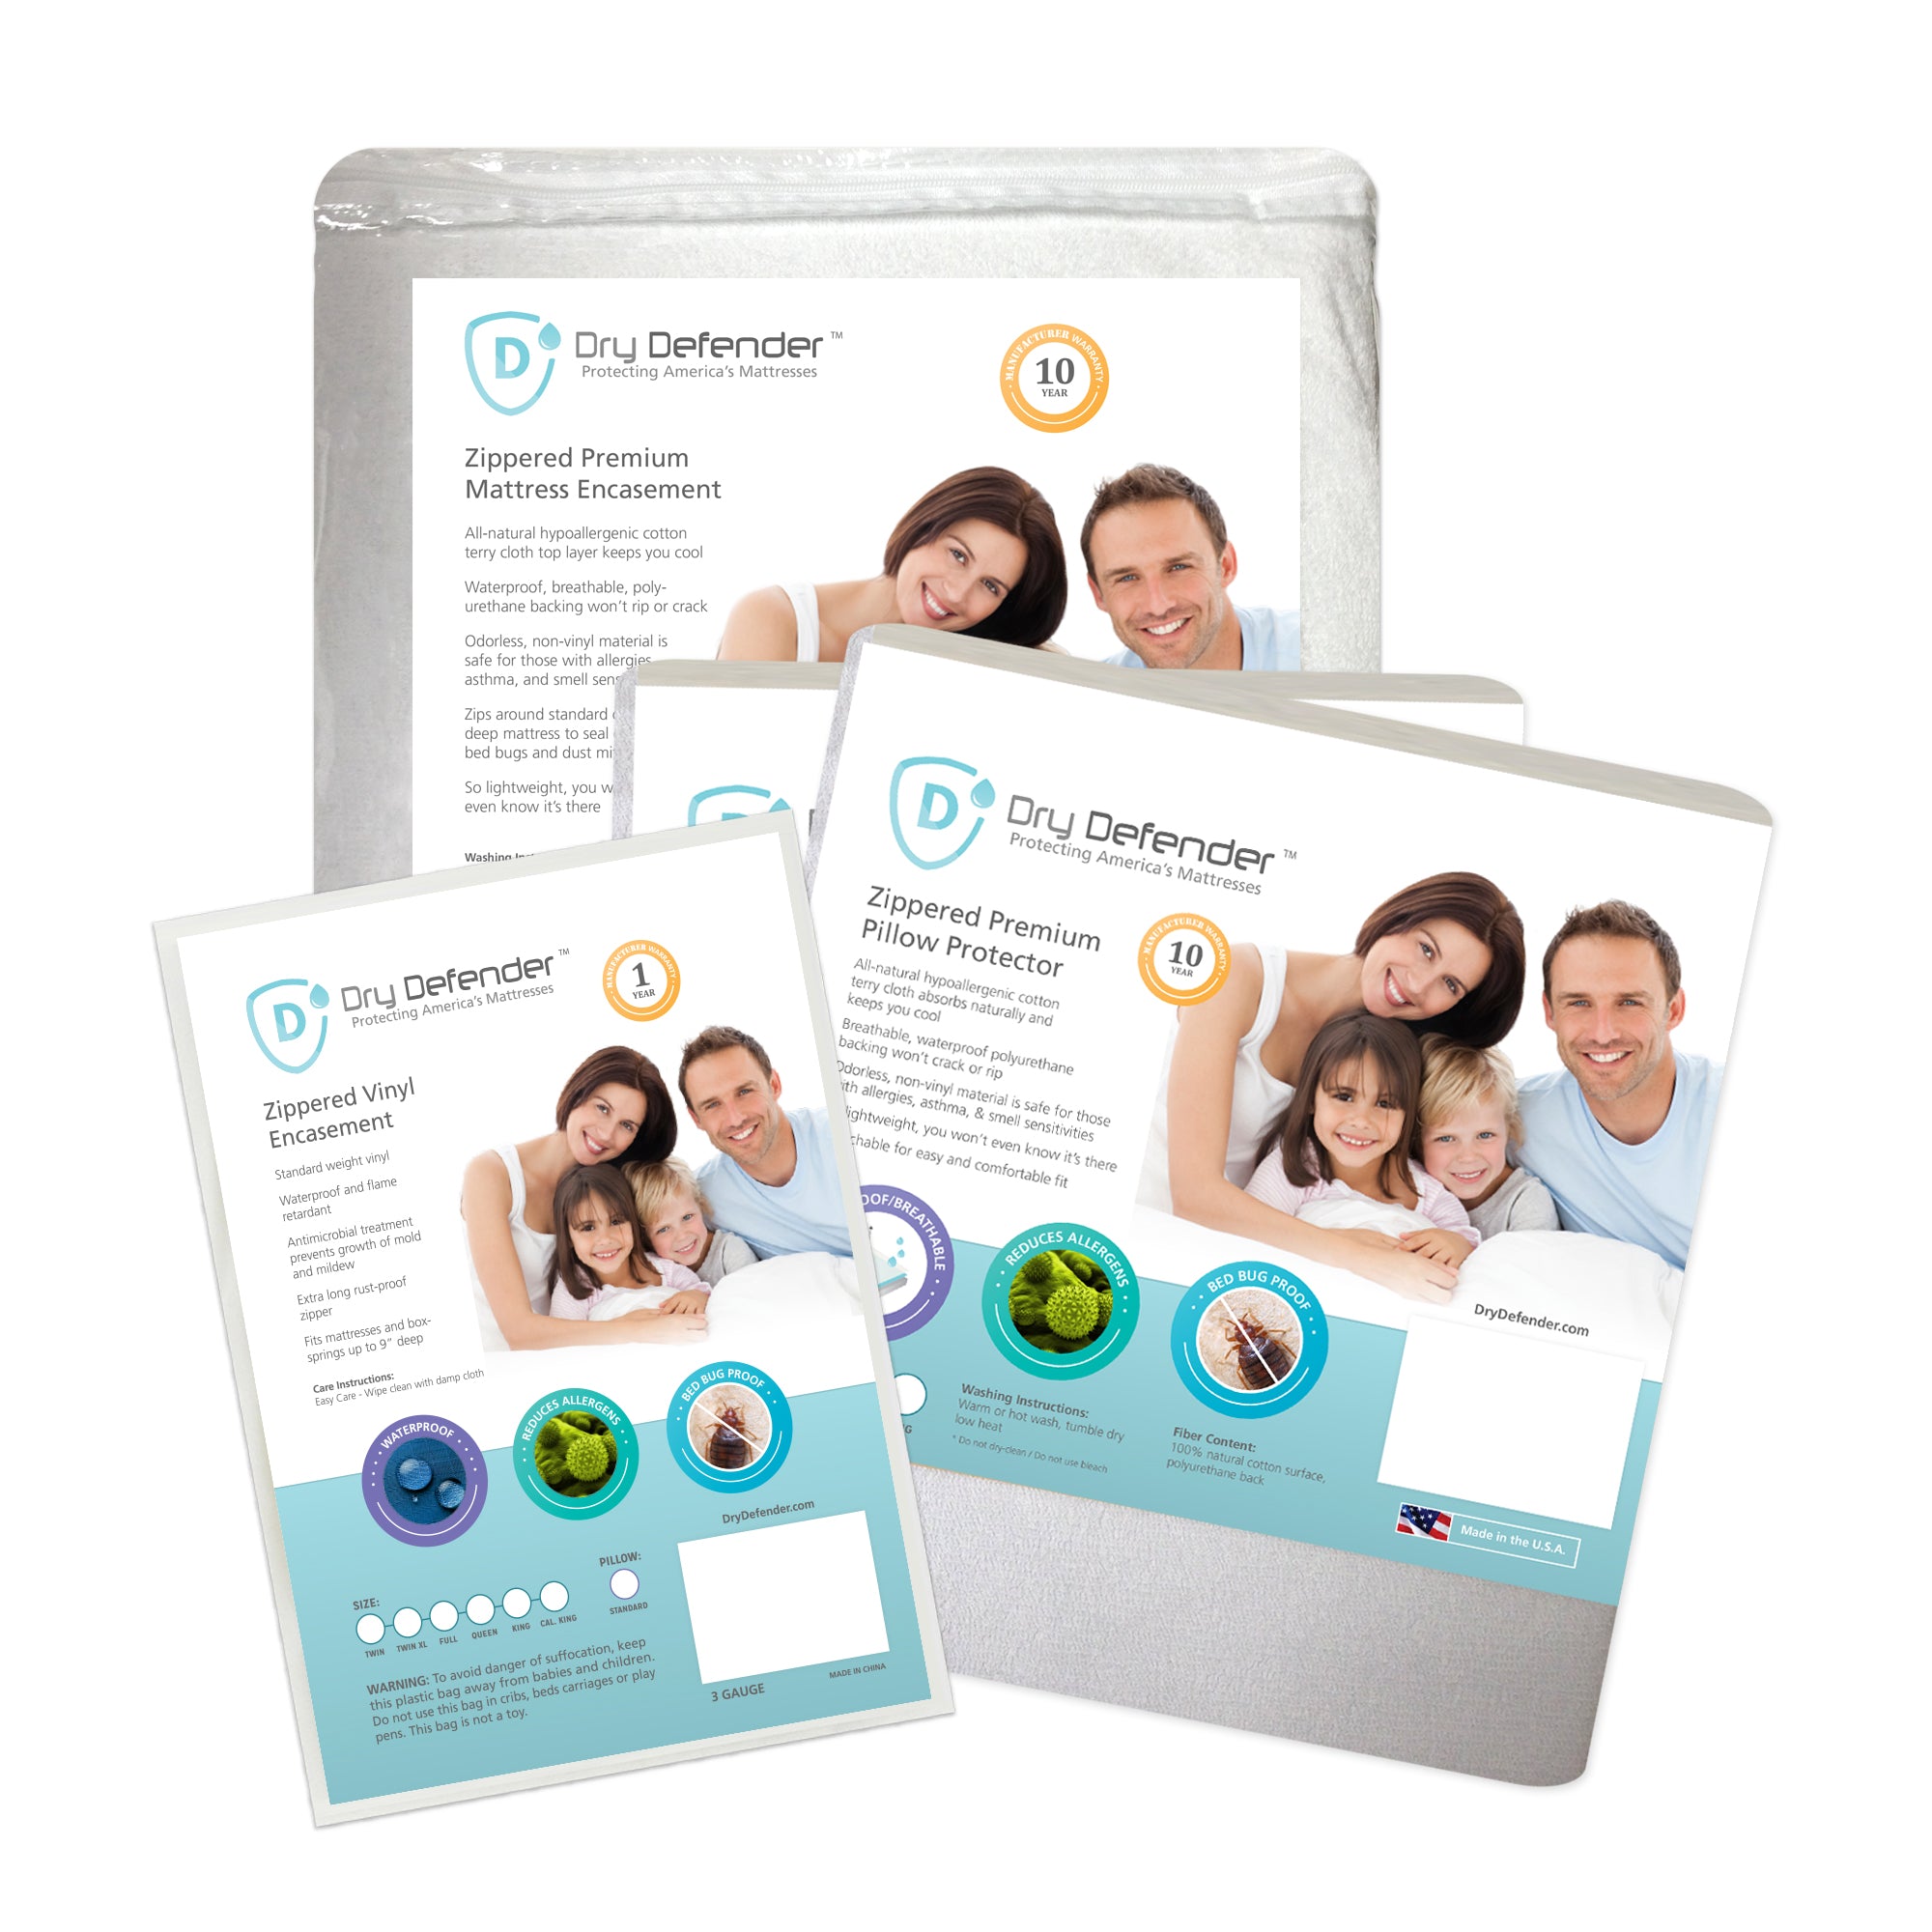
Warning: This product can expose you to chemicals including DEHP, which is known to the State of California to cause cancer and birth defects or other reproductive harm. For more information, please visit the Prop 65 website.
You really don't need any special tools to install your skin, but we've found that having the following items handy can make things a lot easier!
Some Basic Installation Tips
Ok, so you've got everything together, now what?